NFTs play a big role in the technological revolution known as Web 3.0. They’re everywhere in the headlines and on social media, but what are NFTs in reality? And how can you use the internet to sell photographs as NFTs?
What Are NFTs?
Digital assets are called non-fungible tokens, or NFTs. They may be created using images, animated GIFs, drawings, movies, audio files, and other media.
Each NFT is distinct and regarded as a collectable. A blockchain digital ledger is used to record NFTs in an important way that confirms their exclusivity and legitimacy. You may avoid having to worry about fake assets in this way. The procedure also keeps track of the transactions that an NFT does and guarantees ownership transparency.
Online markets are used by people to sell NFTs. Here, artists tokenize their works of art and give consumers ownership of those tokens. All transactions include digital currencies, therefore the blockchain logs the transaction as soon as a buyer transfers the NFT’s price in a cryptocurrency.
These digital assets are up for auction, or buyers can work out a deal with the seller.
It can be quite intimidating to sell photos as NFTs, especially at first. Below, we deconstruct the process into simple, understandable steps.
Step 1, Choose a blockchain platform
There are several blockchains out there, and each has its own set of guidelines. Therefore, it is imperative that you carefully select the platform where you will produce and perhaps even sell your photographic NFTs. This is important since you must choose tools and markets that work together.
The blockchains that are most used include:
- Ethereum
- Binance Smart Chain
- Tezos
- Polkadot
- Cosmos
- EOS
- Flow
Ethereum is the best option if you want greater exposure for your work because it is presently the most well-liked blockchain platform for minting NFTs.
Step 2, Establish a Cryptocurrency Wallet
You must choose the cryptocurrency wallet you’ll use to carry out all essential transactions after deciding on a blockchain. You will require an ERC-721 compatible wallet in order to use the Ethereum ecosystem. MetaMask, TrustWallet, and Coinbase Wallet are a few alternatives.
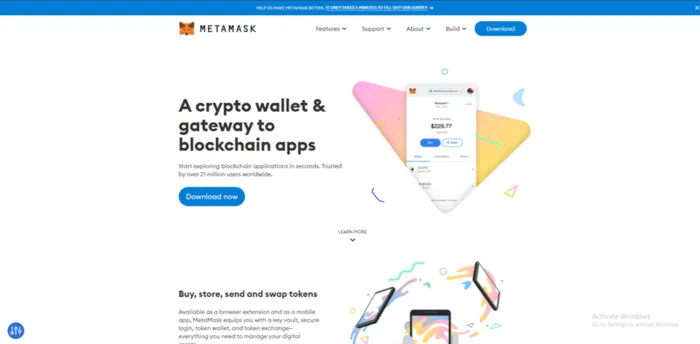
We’ll use MetaMask as an example to walk you through the full process of setting up a cryptocurrency wallet.
- Start by visiting MetaMask.io and selecting the Download Now option.
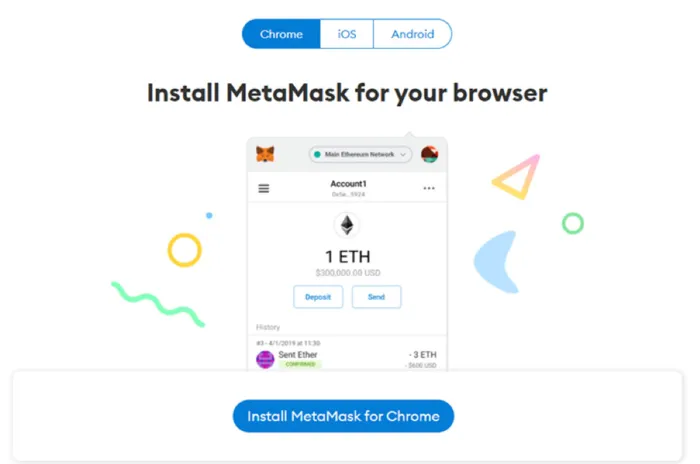
2. Set up MetaMask. This is possible on Chrome, iOS, and Android. The MetaMask app is also available in the Play Store and the App Store.
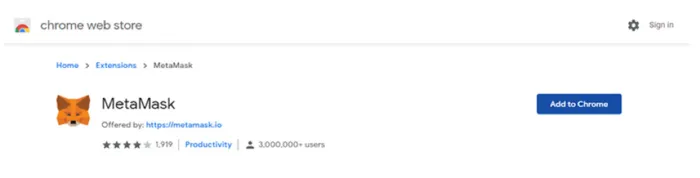
3. After that, click Add to Chrome to add a MetaMask extension to your browser.
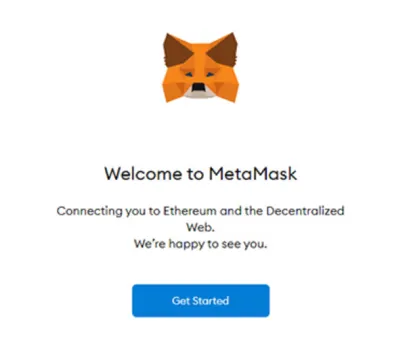
4. Simply select Get Started.
5. You’ll have the choice to import an existing wallet or create a new one in the following window.
- Enter your 12-word seed phrase to access an existing wallet with MetaMask.
- Create a wallet for new users by entering the needed information. You will receive a brand-new wallet from MetaMask along with a matching 12-word seed phrase.

The 12-word seed phrase serves as a unique authentication code for your cryptocurrency wallet. Keep your code safe. Keep it in a secure location. More essential, avoid telling anyone else this sentence. People are constantly being phished by scammers and hackers for their personal information.
Step 3, Put Your Selected Currency in Your Wallet
When your cryptocurrency wallet is prepared, you’ll need to add some cryptocurrency to it in order to complete transactions and cover the associated costs. You must add Ether to your wallet if you’re utilizing the Ethereum blockchain. For your initial deposit, try between $100 and $150.
There are several ways to add bitcoin to your wallet:
- Direct payment
- By transferring funds from your internet wallet to an offline hardware wallet
- by moving money from one online wallet to another (if you use MetaMask, you can receive funds from Binance Wallet)
- Directly purchasing Ether through Wyre
Pay close attention to the Ether price and purchase while it is reasonably cheap. After adding money to your wallet, you can select an appropriate market:
Step 4, Choose Your NFT Market
For photography, there are many NFT markets. Each has somewhat unique pricing and process. OpenSea is a well-known and easily accessible marketplace with a user-friendly layout and straightforward buying, selling, and trading procedures.
Other choices to think about are as follows:
Some marketplaces, including Foundation and SuperRare, require an invitation from an active member or board curator in order to access.
Step 5, Connect your cryptocurrency wallet to an online store
Sign into the marketplace of your choosing after providing the essential personal information. You must include your bitcoin wallet after creating your profile. Simple methods to accomplish this with OpenSea are as follows:
- In the upper right corner, click the Profile Icon.
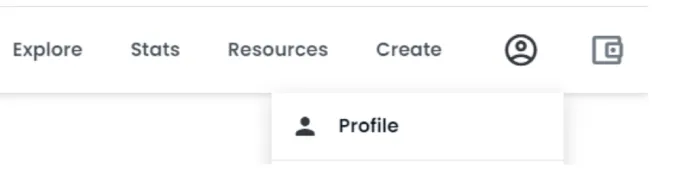
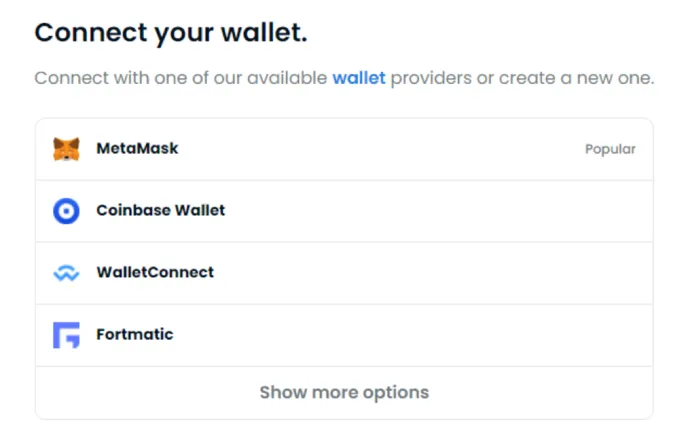
2. Next, select the wallet you are currently using.
3. Your wallet will connect to your profile after you enter your information.
Step 6, Make Your Own Semi-Fungible or 1/1 Token
Make sure to link your wallet so you may do any transactions, including creating and listing NFTs, straight from your profile. Either a 1/1 or a semi-fungible token can be made.
If you’re just getting started, we advise making a 1/1 token first so you can learn how everything works. The decision to produce semi-fungible tokens, which are more complex and have a drawn-out listing process, can then be made.
- Select Create.

2. The image you wish to tokenize should be uploaded. The largest file that may be uploaded is 100 MB.
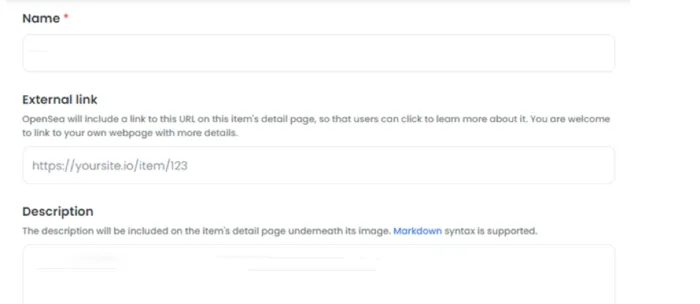
3. Give your NFT a distinctive name before including an outside link to your online portfolio or website. You might also provide an NFT description.
4. Choose a suitable collection to put your NFTs in. On the market, there are over two million collections, and you can constantly make new ones.
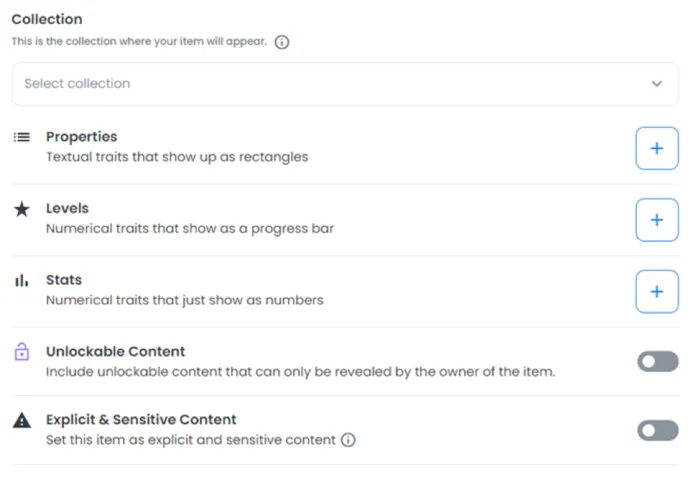
5. Select whether you want the NFT to be a semi-fungible or a 1/1 token.
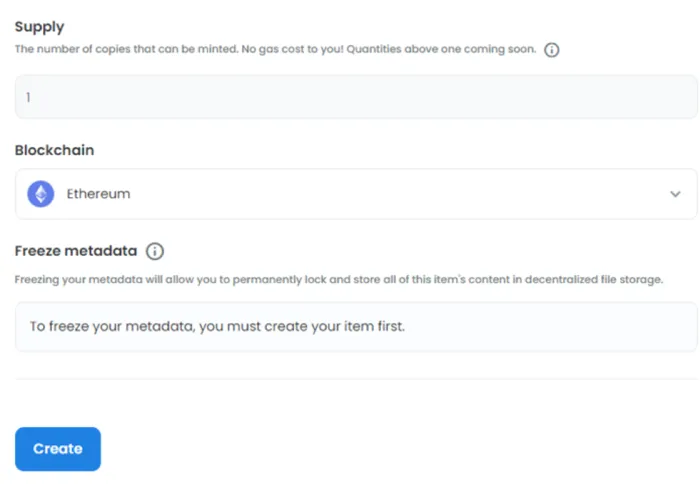
6. Decide which blockchain to use.
7. If you decide on Ethereum, make sure you have ETH in your wallet as well. You’ll be required to pay a minting fee, also known as a gas fee, for your NFT.
8. Select Freeze Metadata if you want to keep the NFT information about your image in a decentralized file storage system. This process will require more computing power, so you’ll pay more for gas.
9. To upload your NFT to the blockchain, click Create.
Step 7, Place Your NFT on the Market
Congratulations! You now possess a digital asset that is ready for sale. Follow these steps to list your NFT on a marketplace:
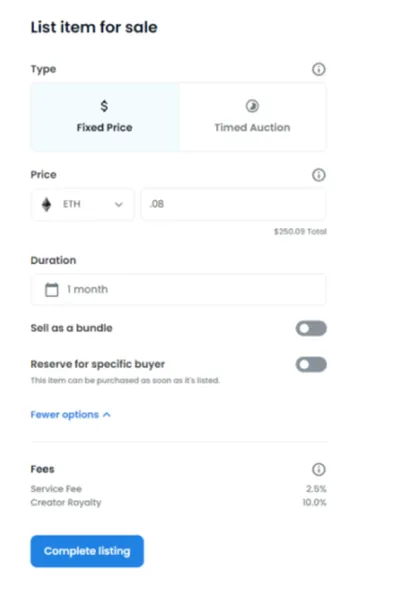
- If you wish to sell your photo NFT for a specific amount, choose Fixed Price. If you want others to place bids on your NFT, choose Timed Auction.
- Decide on an average cost for your token.
- Choose how long your photo will be available for purchase.
- Click Complete Listing once you’ve customized each of these metrics.
So there you have it! You recently uploaded your photo to the internet as an NFT.
You should be aware that there will be a listing cost. Two gas costs are required for new sellers: one is for setting up their accounts, and the other is for minting their NFT on the blockchain ledger. The fees will be automatically deducted from your wallet once your NFT has been created.
How Do Gas Fees On Ethereum Work?
The bare minimum amount for the computing resources needed to log a transaction on the Ethereum blockchain is known as an Ethereum gas fee. Depending on the workload and server stress, the gas prices are continually fluctuating. Because Ethereum is a digital ledger, every transaction can be seen and verified by anyone.
The petrol costs are rather expensive when there are several transactions going on. On the other hand, minimal load on the blockchain will result in reduced gas fees. The real-time value of ether has an impact on gas prices as well. Therefore, before deciding on a price for your image, always check the gas prices and compute your costs before minting a photo as an NFT.
Technology advances quickly. It is not surprising that photographers are transitioning toward selling photographs as NFTs as more and more of the world goes digital. Both buyers and sellers benefit from the clarity and convenience that the process of digitizing your assets and listing them for sale offers.


